The US Fin Box System
Our inflatable paddle boards now use the renowned universal fin system called US Fin Box. The advantages?
- If you break or lose your central fin anywhere in the world, you can easily find a replacement — the system is universal
- It allows us to include better performing fins that improve traction on the water
- You can easily swap different fin shapes according to your needs — touring fins, river fins, motor fins and more
- The space in the center of the fin box allow easier folding of your board and less stress on the fin box when the paddleboard is stored deflated and rolled.
Step 1 — Remove the Screw from Your Fin
Your central fin comes with a screw and a squared base. Unscrew the squared base and keep both pieces handy — you'll need them to lock the fin in place.

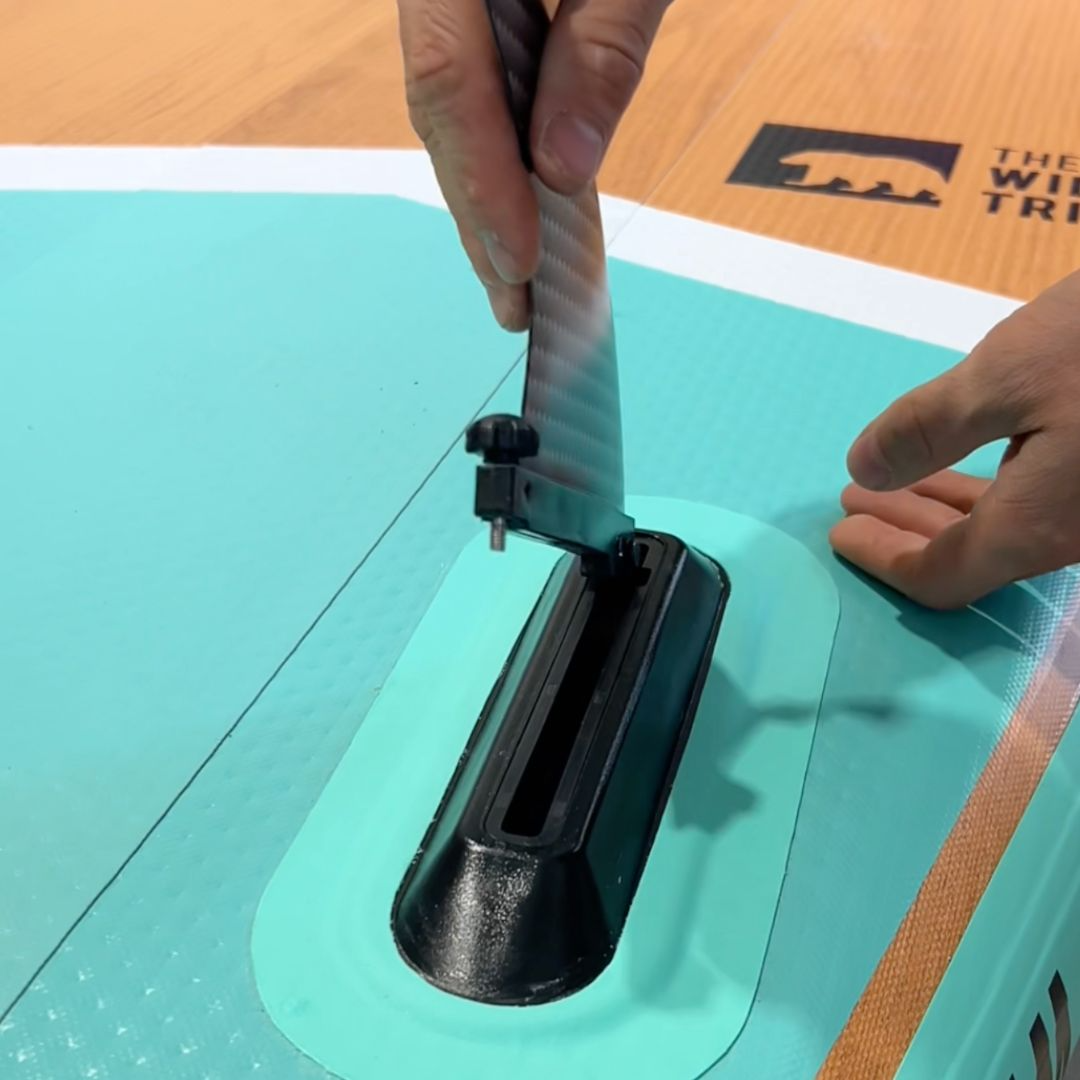
Step 2 — Slide the squared base into the Box
This square base is used to fix your fin to the fin box. Insert it inside the fin box, detached from the fin. 
If you have a hard time sliding the squared base into the fin box rail, screw the tip of the screw into the squared base and use it to slide the square to your desired position. You can then unscrew, place the fin and screw it back in place to lock the fin.
Step 3 — Position your squared base
Slide the square base into the rail to position your fin. Using the screw will help secure it in place.

Step 4 — Insert your fin into the fin box
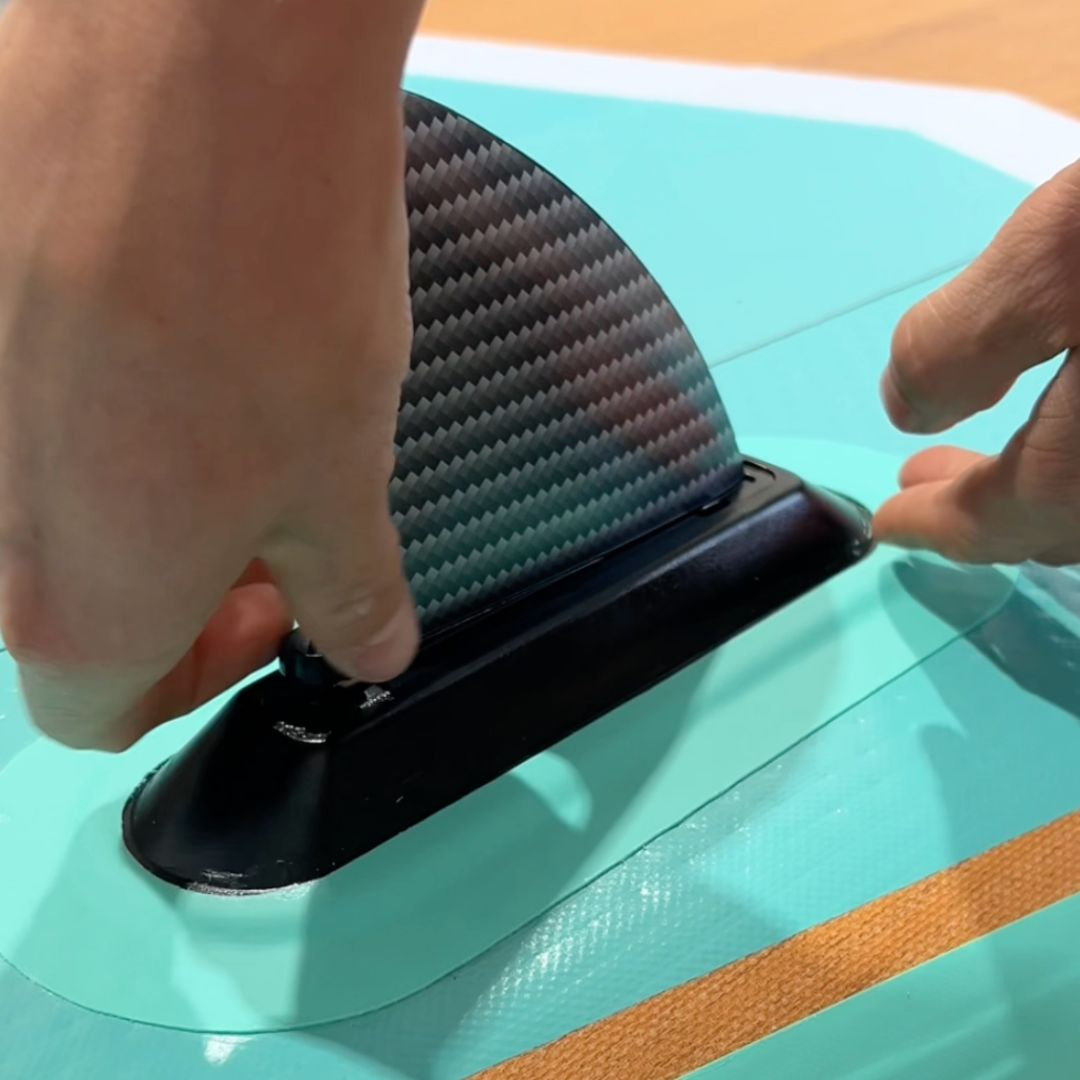
It’s now time to insert your fin into its base.
- Start by inserting the back of the fin, making sure the metal pins slide into the rail.
- Then pull down the front part of the fin inside the front section of the fin box until the 2 small plastic pins in fornt of the fin sits on the fin box.
IMPORTANT: The 2 small plastic pins in front of the fin do not go inside the fin box, it sits over it!

Step 5 — Align the front hole with the square base inside the fin box
Use both hands to align the screw hole at the front of the fin with the square base inside the fin box. The fin won’t slide in easily because it’s designed to fit snugly to prevent movement and vibration once installed.

Step 6 — Screw your fin into place
Use the screw to lock your fin in place. The screw will go into the square base and secure the fin.

Step 7 — The small fins use a screw-in system, first insert the side with no screw in the fin box
Now it’s time to install your small fin, which uses a screw-in system. Insert the side of the fin with no screw into the slot.
Step 8 — Screw the fin into place
Push down the side of the fin with the screw into the fin box and screw the back of the fin into the rail of the fin box using your hands.